Beer pizza crust
Homemade pizza dough is something I’ve always struggled with. You’d think it would be pretty hard to make a bad pizza, but somehow I’ve achieved it on many (…many…) occasions.
The main issue is that I find baking with yeast seeeeriously stressful – hence the lack of recipes containing yeast on this blog! I don’t know what it is, I just find it terrifying. Beforehand, I think it will all be fine, but as soon as I start mixing everything up, my heart starts beating really fast and I get all clammy (TMI?).
What happens if I leave the yeast bubbling away for too long? Or not long enough? Will I go away to let it prove and end up forgetting all about it? Will I get too nervous and use the dough before it’s ready? Ahhhhhh.
I literally turn into a quivering wreck. Which is absolutely ridiculous, really. I’m a fully grown woman who cooks for a living, and I’m terrified of a bit of yeast.
This would all be fine if it wasn’t for the fact that I would love to be one of those women whose house always smells of freshly baked bread. You absolutely can’t beat it. So, I thought I’d give it one more go. I found this beer pizza crust recipe on Mess Makes Food and thought it looked easy enough – plus you know I love cooking with beer, so it was definitely a goer.
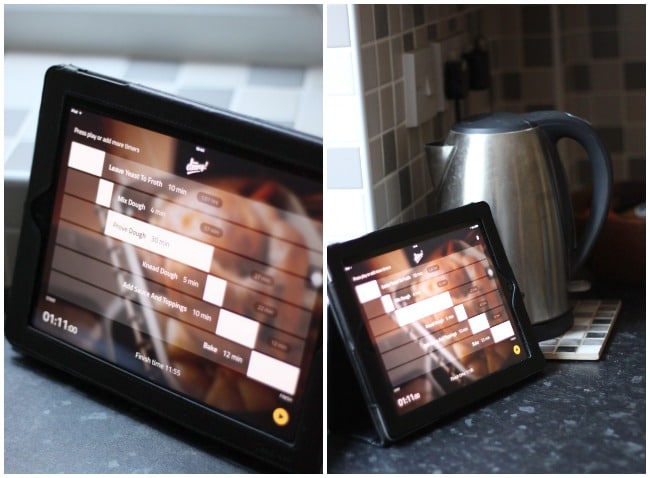
I used a new free app called Diiing to see if I could reduce my yeast-induced trembling. And that’s not a typo, by the way – there are 3 i’s. Diiiiiiiing.
Diiing allows you to program in different timings for a complex recipe or meal. It dings (hence the name!) when it’s time to move onto the next task. I’m thinking it would be great to help with cooking a big roast dinner, so you know when to put the next vegetable on, exactly how long your broccoli’s been boiling, etc. When you’re doing lots of simultaneous tasks (e.g. roasting potatoes and boiling veg at the same time), it also helps you to ensure that everything will finish at the same time, so you don’t have to leave your veg sitting there going cold because you put it on too early (…just me?).
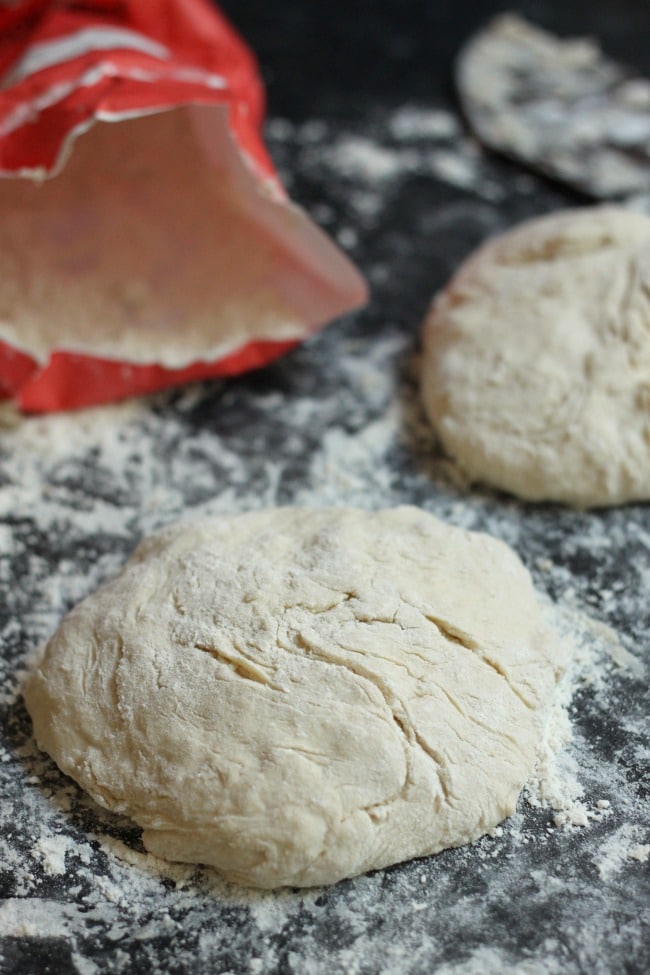
While I was making my pizza dough, I used Diiing to help me keep track of how long I had to leave the yeast to froth, and the dough to prove, and the pizzas to bake. I also added a couple more hands-on tasks – I estimated that it would take me about ten minutes to faff around with sauce and toppings, for example. If you find that tasks like this are taking longer than you expected, you can always pause the app until you’re ready to continue.
I really appreciated having this app watching out for me while I was making the pizza dough! It was nice to know that I’d be called back to the kitchen by the ‘ding’ when the dough had finished proving.
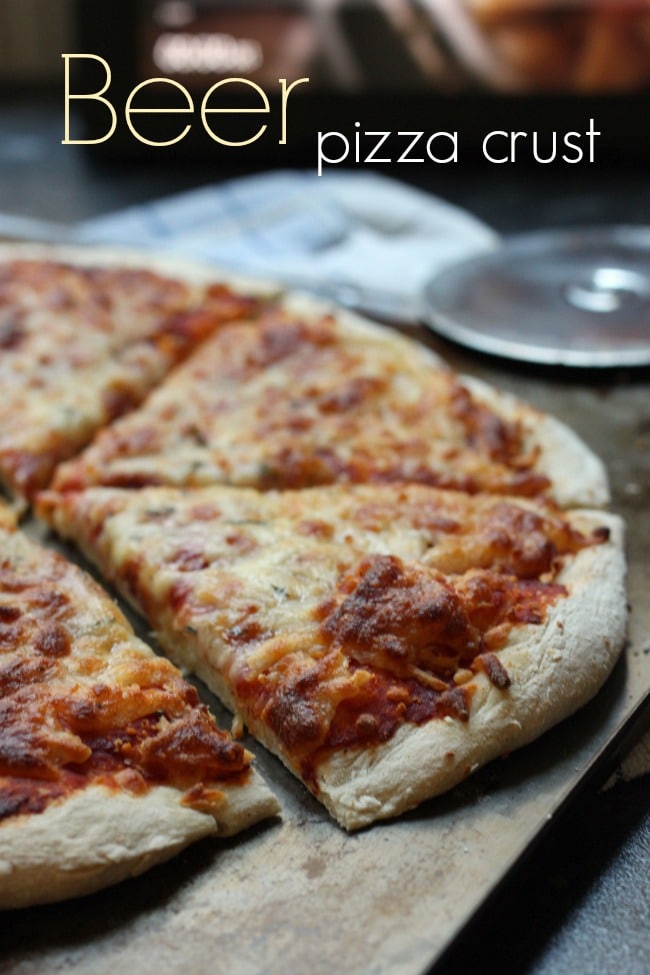
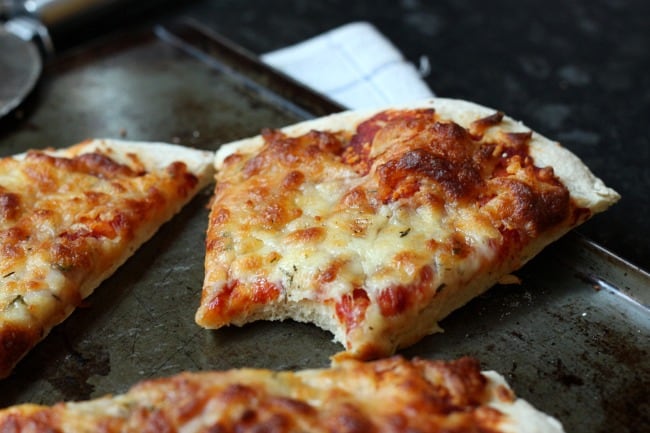
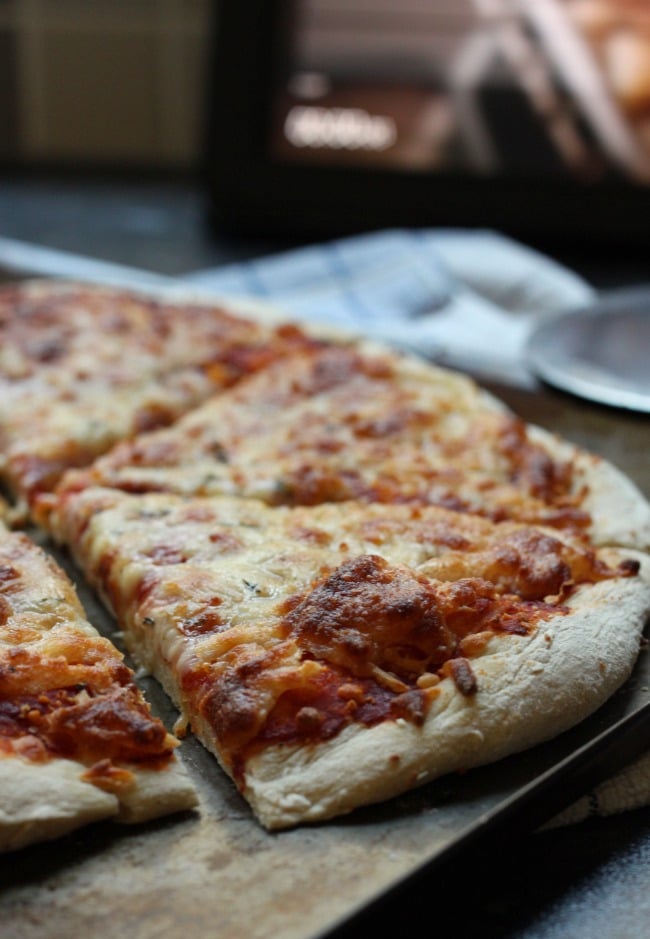
By the way, this pizza crust: complete and utter success. Undoubtedly the best pizza I’ve ever made from scratch. Just look at it! Perfect, if I do say so myself!
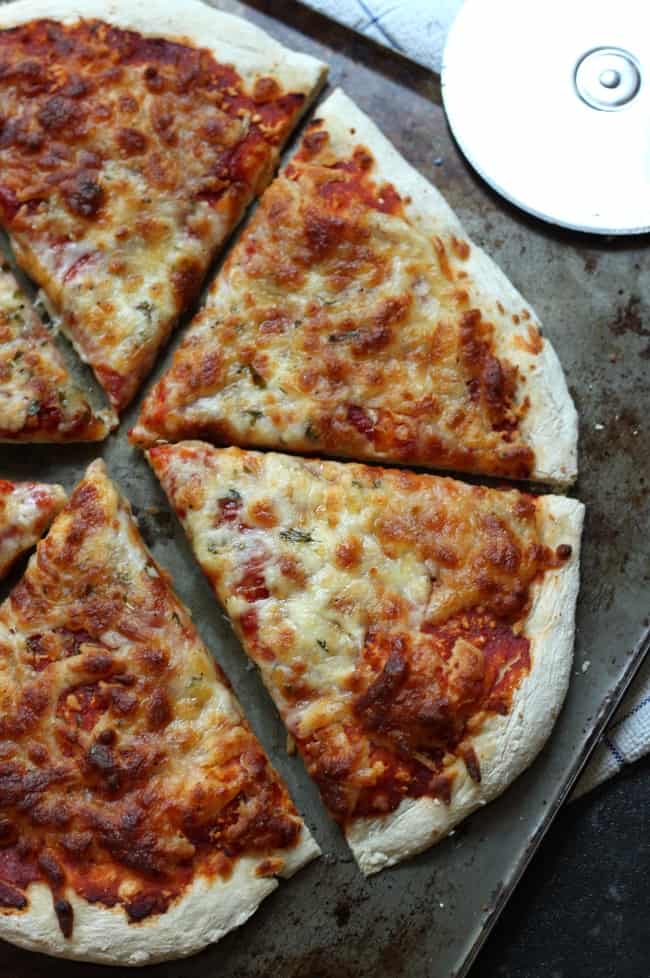
In my opinion, pizza is allllll about the cheese. I’m definitely a thin crust person – the bread is only there as a vehicle for the cheese and toppings. To me, a thick doughy crust is just a waste of precious belly space.
In the past I’ve tried to make thin crust pizzas and for some reason, they’ve always risen anyway. I’ll admit, I’m fairly certain that it’s usually my fault, but still. They just never seem to work properly. This beer pizza crust stayed nice and thin – as long as you punch it down a bit after it’s finished proving, it shouldn’t rise too much.
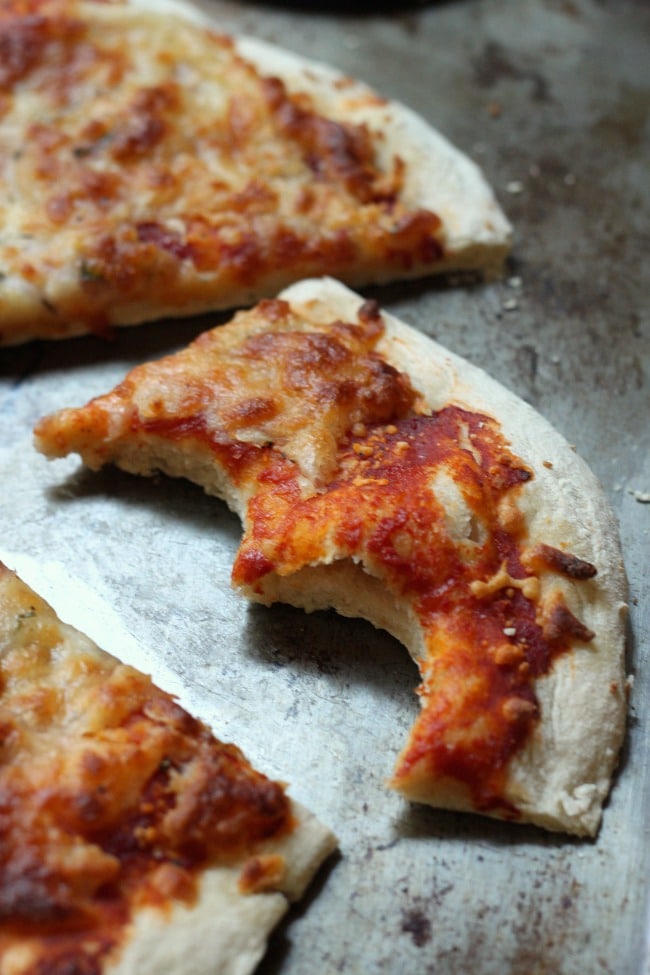
Peeeeerfect!
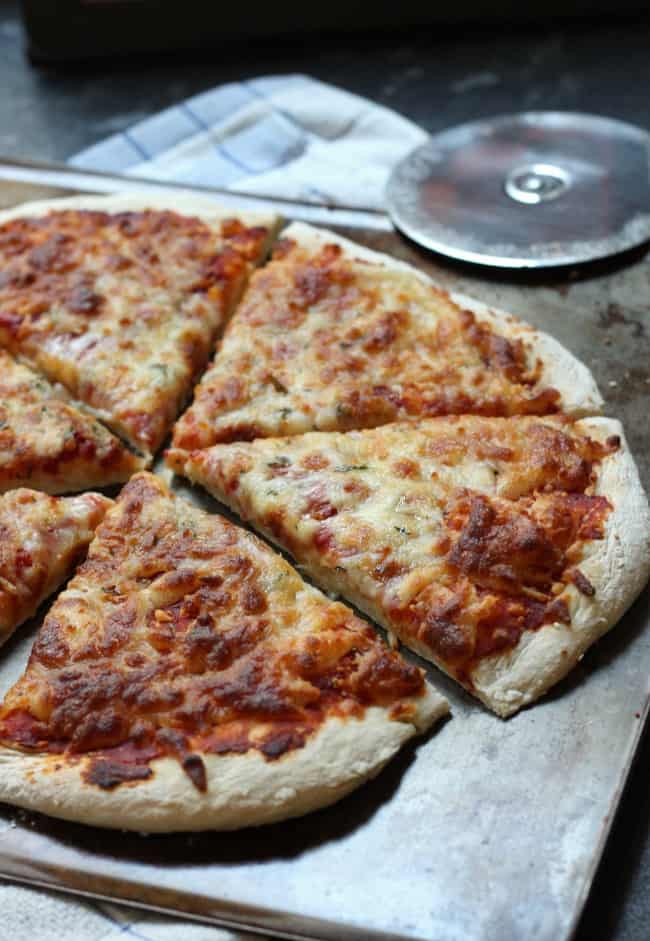

Beer pizza crust
If you’ve cooked this recipe, don’t forget to leave a star rating!
Print Pin CommentIngredients
- 14 g fast action dried yeast 2 sachets
- 1 tsp caster sugar
- 100 ml lukewarm water
- 575 g plain flour
- 1/4 tsp salt
- 440 ml beer
- Your choice of sauce cheese, and toppings
Instructions
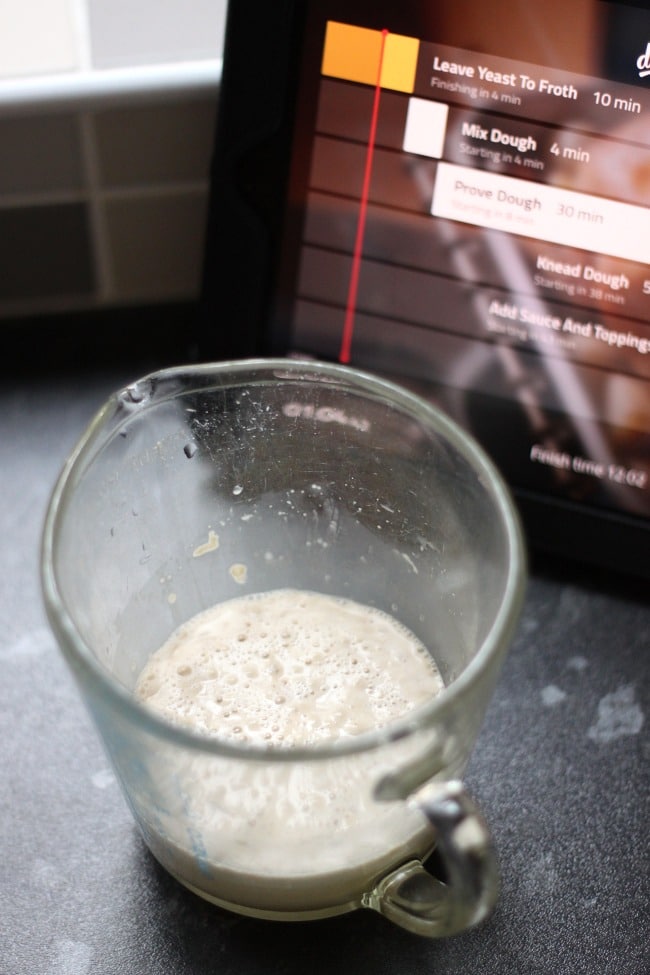
- Add the yeast and sugar to the lukewarm water, and set aside for 10 minutes, until frothy.
- Meanwhile, mix the flour and salt in a large bowl.
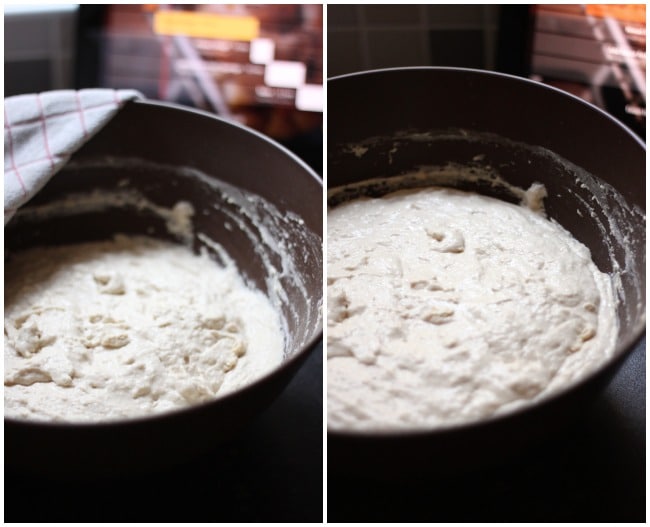
- After ten minutes, add the yeast mixture and the beer to the flour, and mix well with a wooden spoon until fully combined. Cover the bowl with a damp tea towel, and set aside for 30 minutes, until doubled in size.
- After 30 minutes, preheat the oven to 190°C (Gas Mark 5 / 375°F).
- Tip the dough out onto a work surface that has been thoroughly floured (the mixture will be very sticky). Using plenty more flour to help, punch the dough down, and work it for a few minutes until stretchy.
- Divide the dough into four, and transfer each ball of dough to a lined baking sheet. Gently press the dough outwards into a large circle (around 10 inches in diameter).
- Add your chosen sauce, cheese and toppings. Place in the oven, and bake for around 10-15 minutes, until the base is crispy and the cheese is golden brown.
Nutritional information is approximate, and will depend on your exact ingredients. Please calculate your own nutritional values if you require accuracy for health reasons.


Hi Becca,
Just wanted to let you know I loooove this recipe.
We used a Nitro Stout and the results were amazing. The flavour wasn’t very noticeable but the colour and texture were dark, soft, supple and delicious. The adult kids were fighting over it.
This is definitely our go to pizza recipe now
Thanks
Yay! That’s awesome feedback, thanks so much :)
Oh, that sounds really good Becca. I knew that beer is good in the fish batter but never heard of beer pizza dough :)
We make lotsa pizzas here. One if our favorites is a white sauce, made from ranch dressing sprinkled with hot sauce, preferably Chalula, to taste. Top with shredded chicken, fresh tomatoes and cilantro. I shred my mozzarella and also add freshly grated Parmesan. Sometimes I will also sprinkle whatever cheese I have in the fridge, Gorgonzola, feta, even Brie. Yum!
I never tried beer as an ingredient on pizza but I bet it tastes great. Probably I will try it and let you know what I think :)
Homemade crust is the best, especially when you use beer! This recipe looks very good!
I am one of those crazy people that loves baking with yeast. Your recipe looks delish! I have added this recipe to my to-make list. Thanks!