
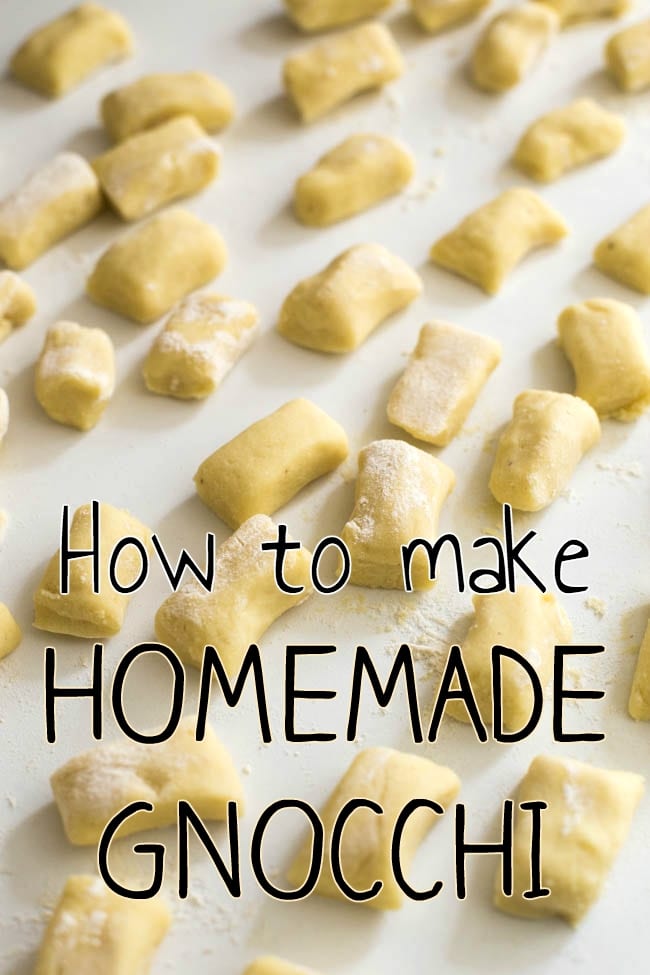
How to Make Homemade Gnocchi
Homemade gnocchi is so much better than the shop-bought stuff – and this recipe comes with a tip that will save you SO much time!
This is an advertisement. Find out more here.
I’ve made homemade gnocchi (potato dumplings) from scratch before.. In the blog post, I said “I’ll definitely be making gnocchi again next time I have a quiet Sunday ahead of me, and I feel like getting stuck into something in the kitchen”… but did I? Of course not. Homemade gnocchi can be seriously labour intensive – you need to peel the potatoes, cook the potatoes (preferably in the oven, which can take hours), and mash mash mash until there’s not a single lump left – and that’s just the potatoes. Then you have to make the actual gnocchi itself. There’s a reason that most of the gnocchi recipes I’ve posted since then have used shop-bought gnocchi.
Homemade gnocchi
I decided it was time to give homemade gnocchi another go. It really is much tastier than the shop-bought stuff – much lighter and fluffier! – and it is so worth it if you have the time (and the inclination).
However, my laziness meant that I did cut a pretty major corner this time – I used frozen mashed potato! Frozen foods are so great for cutting down on the hassle of cooking.
If you just wrinkled your nose in disdain, let me explain.
I know there are probably some kinds of mashed potato out there that use weird ingredients – milk powder, emulsifier, stabiliser, and all kinds of other non-ingredients that have no place in mashed potato. But if you can find a good quality one, it will save you so much time. I used frozen mashed potato from Iceland, which contains just potato, butter, milk, and salt and pepper – that’s it. That’s all I would be putting in my mashed potato anyway, and it makes this homemade gnocchi a whole lot more hassle-free.
Frozen mashed potato means that there’s no more peeling or pre-cooking required, and it’s even pre-mashed until it’s silky smooth. I mentioned last time that I had a few tiny lumps left in my gnocchi, which wasn’t great, but using Iceland’s frozen mashed potatoes eliminated this problem entirely.
Once you’ve got your smooth and creamy mashed potatoes, you only need to add some flour and an egg to form your homemade gnocchi dough.
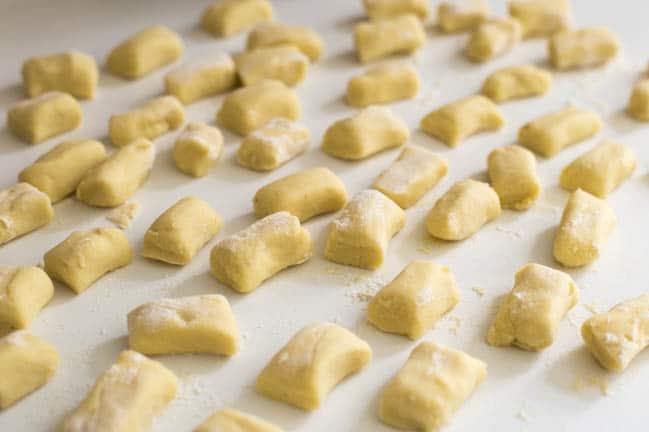
Shaping the gnocchi is pretty easy – just roll the dough into sausage shapes, and cut it into chunks. You don’t need to be too precise – my gnocchi wasn’t exactly perfectly even, as you can probably see! If you like, you can use a fork to add the indentations that you often find on gnocchi.
I didn’t <– lazy.
Personally, I think there are better things to worry about than the intricacies of the shape of your gnocchi, but I’m not Italian, so what do I know? Perhaps those grooves serve a very important purpose, but I think it tastes just as good without them, so… meh.
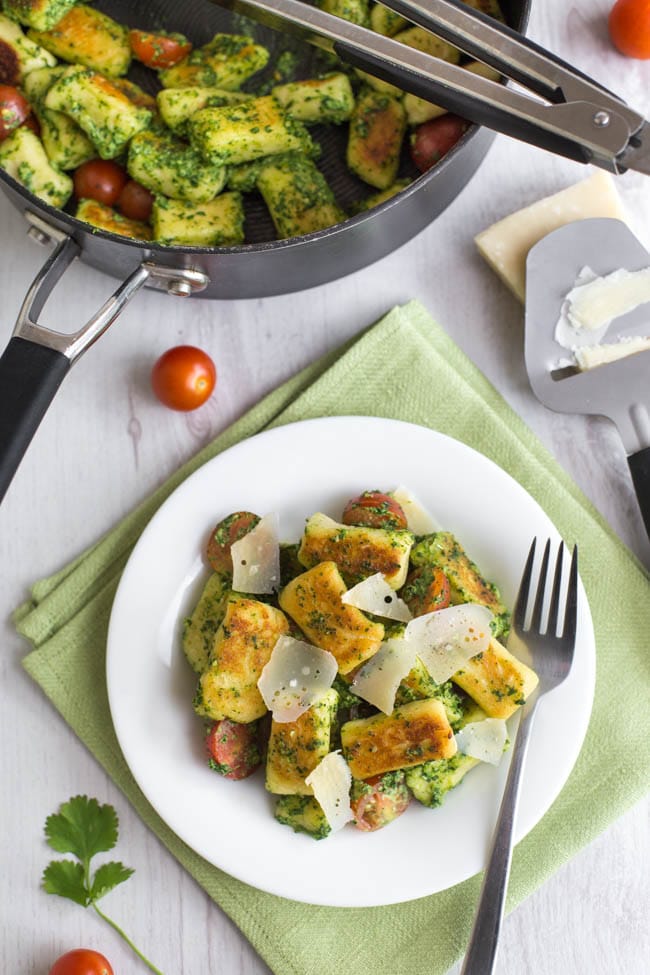
As always, after boiling my gnocchi I cooked it in a frying pan to crisp it up nicely. You don’t have to do this, but I really do think it will take your homemade gnocchi to another level. It’s so much nicer with crispy sides, and it even seems lighter and fluffier somehow. Definitely recommend!
In summary, here’s the general process of making your homemade gnocchi – in just 5 words.

I served mine with an easy kale pesto, made using Iceland‘s frozen kale (which is now a staple in my freezer – I love throwing a handful in when I’m boiling pasta for a nutrition boost). Obviously you can serve it however you like, if pesto isn’t your thing, but after making homemade gnocchi from scratch I just wanted to make something quick!
What do you reckon – is homemade gnocchi something you’ll ever try? Would you consider using frozen mashed potato to make life easier for yourself and cut the hassle?
How to make Homemade Gnocchi
If you’ve cooked this recipe, don’t forget to leave a star rating!
Print Pin Comment(if you suffer from allergies, please double check all ingredients before eating)
Ingredients
For the homemade gnocchi:
- 500 g mashed potato (~ 2 cups)
- 120 g plain flour (~ 3/4 cup), plus a little more for rolling
- 1 egg
- Salt
- Black pepper
- 1/2 tbsp oil
- 1/2 tbsp butter
For the kale pesto:
- 1 small clove garlic, peeled
- Small handful kale
- A few sprigs fresh parsley or coriander (cilantro)
- 1 tbsp pine nuts
- 1 tbsp extra virgin olive oil
- 1 tbsp cream cheese
- Salt
- Black pepper
- 9 cherry tomatoes, halved
Instructions
- If using frozen mashed potato, defrost it thoroughly in the microwave.
- Combine the mashed potato, flour and egg in a large mixing bowl, along with a good pinch of salt and pepper. Using clean hands, mix well, and knead lightly to form a dough. If the dough is too sticky, just add a tiny bit more flour.
- Roll out the dough (or just press it out with your hands) until it’s around 1.5 cm thick, and cut into 1.5cm strips. Roll each strip a little on the worktop to form a sausage, and cut into pieces – mine measured around 3cm long. Use a fork to add grooves if you wish (I didn’t bother).
- When all of the dough has been used to form the gnocchi, bring a large pan of water to the boil. Add some of the gnocchi – you’ll need to cook it in 2 or 3 batches to avoid overcrowding the pan. When the gnocchi floats to the surface (which should take less than a minute), give it another 20 seconds or so, then remove it from the water using a slotted spoon. Repeat until all of the gnocchi have been cooked.
- The gnocchi are now edible, but I think they’re much nicer if you fry them a little first. Heat some oil and butter in a frying pan, and add some of the gnocchi (again, cook it in a couple of batches so you don’t overcrowd the pan). Cook over a medium heat for a couple of minutes each side, until golden brown and crispy.
- Serve the gnocchi with your choice of sauce. I used a creamy kale pesto – if you’d like to do the same, just add the garlic, kale, coriander, and pine nuts to a mini food processor and blitz until a paste is formed. Add the extra virgin olive oil and cream cheese, along with a good pinch of salt and pepper, and blitz again. Serve the gnocchi with the pesto and a few cherry tomatoes.
Notes
Nutrition
Nutritional information is approximate, and will depend on your exact ingredients. Please calculate your own nutritional values if you require accuracy for health reasons.
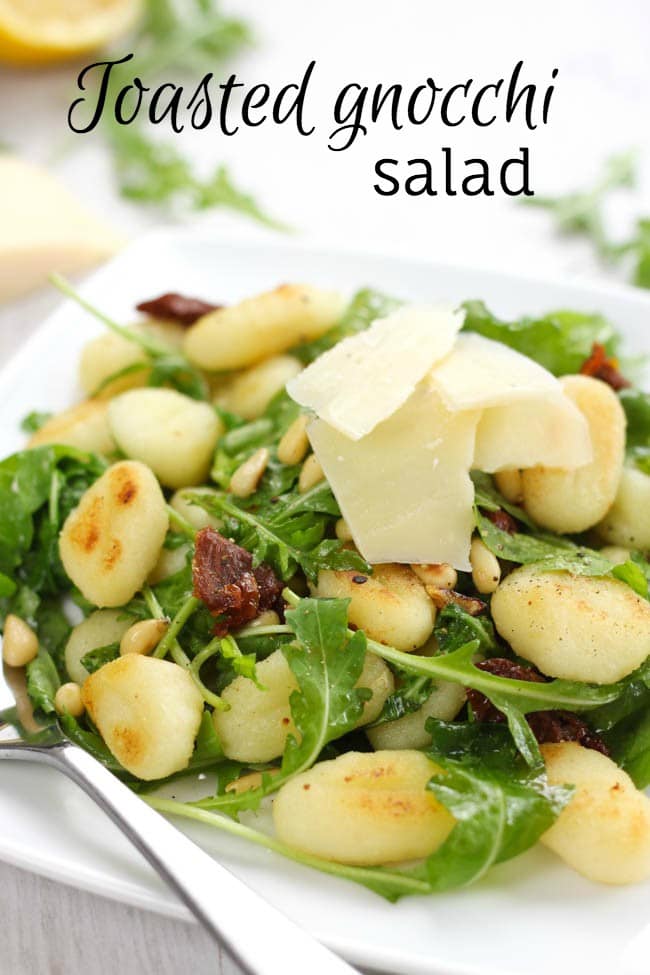
This homemade gnocchi would be amazing used in my toasted gnocchi salad!
I’ve seen a video on how to make this before, it made me laugh about the dents with the fork. I would have skipped that step too!
Corinne x
Apparently the grooves help the sauce stick to the gnocchi? I dunno, my sauce didn’t have any problems!
Ohh this looks and sounds fab and easy to make! I need to make this. Using frozen mash is so much easier! My children would enjoy this, thank you for sharing. xx
Oh my goodness! It’s so great to know that you can make gnocchi without having to make your own mashed potatoes – that is definitely the longest part of the process. These look fabulous!
The frozen mash probably cuts the prep time in half!
What a lovely post. I have made Gnocchi only once and really loved it. Your post is really inspiring me make them all over again..
I’m never quite sure I like gnocchi enough to be worth making my own – I do remember making them in the dim and distant past, but not sure I cared for the result! I also think my husband would hit the ceiling if he thought I was even contemplating buying frozen mashed potato – I never have lumps in mine as I use a ricer, which I find infinitely preferable to mashing. To the point where I have been known to take the ricer on holiday with me….. plus you can use one of the other disks to make home-made noodles (and they really *are* worth making!).
I think the fork marks on the top are to help the sauce cling better, as I think someone else has already said. And yes, if you’re going to make them, you might as well make enough to freeze for another day!
I’m not the hugest fan of gnocchi UNLESS it’s been fried, it makes it so much tastier. Give it another go! :)
I, for one, love the idea of using frozen mash potato! It’s rare that we have too much mash leftover in our house (it usually gets cooked up the next day with Marmite added!) but I might have to purposely freeze some to have ready for making gnocchi. The finished fried gnocchi just looks like perfection!
We never have any left over because it all gets eaten haha! I’m so intrigued by the idea of adding Marmite to mash!!
Gnocchi always remind me of my childhood, my mum used to make them a lot and I learned from her! I can understand why you fried them but I never thought of doing this myself, such a good idea for the salad, looks great too!
You should definitely try frying them a little after boiling, I think they’re SO much nicer that way! So crispy :)
I have never attempted homemade gnocchi, nor have I ever seen frozen mashed potatoes (not that I’ve been looking but I am definitely not opposed to using frozen veg!) This looks great! Love it with the pesto on top!
Dayum Becca this looks good! I have always been put off by the amount of labour making gnocchi, but the frozen mash sounds like a like saver!
It’s a revelation! ;)
I’ve got to try making these. I will use homemade mashed potatoes but I use an electric mixer to do my mashing making it a bit easier to get rid of lumps. One article I read on the lump thing is to mash the potatoes with just the butter first and then after it’s smooth to add the milk.
The reason for the grooves made by the fork would be to trap the sauce so it clings better.
Using a mixer is a great idea! Must try that next time I make mash from scratch.